Conveyor Idler Installation and Alignment Checklist
2026-11-04 19:23:46
Most installation problems on a conveyor do not appear at installation. They appear three weeks later as a belt that will not hold centre, or six months later as a run of rollers with worn shells on one side. By then the cause has been buried under a series of adjustments that made the symptom move without fixing anything. Working to a sequence at installation is the cheapest way to avoid that.
Before Any Roller Goes On
Check the stringers. They should be straight, level across the conveyor, and at the correct centre distance for the frame width. A stringer that has been hit by a loader or has settled at one footing will put every frame on that section out of position, and no amount of idler adjustment will compensate.
Check the frame centres along the length. Variation of more than a few millimetres between adjacent frames changes the effective spacing and, more importantly, moves the belt line up and down. Then check that the frames are square to the conveyor centreline. String line the whole straight section at once rather than checking each frame in isolation, because a series of frames each individually correct but cumulatively drifting will still produce a tracking fault.
Setting the Frames and Brackets
Mount frames so that the bracket slots are at the same height across the width. A difference of even 3 to 4 mm between the left and right bracket of one frame tilts the trough and steers the belt toward the low side. Check with a straight edge across the two brackets, not with a level on each in turn.
Set the first troughed frame after the tail pulley at a reduced angle where the design allows, and graduate the following two or three. Forcing the belt into full trough immediately off a flat pulley stretches the edges and creates the tracking fault that gets blamed on the training idlers further down the line.
Tighten to the specified torque, and use the washers specified. A bracket held by two bolts where one is loose will rotate under load and change the trough angle in service.
Fitting the Rollers
Drop-in rollers should seat fully in the slot with the shaft flat engaged. If a roller sits proud, do not force it — check the slot for paint, weld spatter or a burr, all of which are common on new frames. A roller forced into a tight slot will not rotate freely, and it will wear the slot until it is loose.
Check that each roller turns by hand after fitting. A roller that is stiff at installation has either been damaged in transit or has a bearing problem, and it will not improve. Check the gap between adjacent rollers in a three-roll set — they should not touch, because contact between rollers transmits rotation between them and accelerates wear at the contact point.
Alignment of Pulleys and Training Idlers
The belt tracks to the alignment it is given at the pulleys. Check that the head and tail pulley shafts are square to the conveyor centreline, using a string or a laser rather than the structure as a reference. Structure is often out of square, which is exactly why it should not be the datum.
Training idlers go in last, after the structure and pulleys are right. Fit them where the design calls for them and leave them at neutral. Fitting training idlers early and using them to correct a structural misalignment is the most common way a conveyor ends up with a set of permanently skewed training units that steer the belt as hard as they correct it.
First Run Checks
Run the empty belt for at least two full revolutions before loading. Watch the belt at the tail, at each training idler, and at the head. Mark the belt edge position on the structure at a few points so drift can be measured rather than judged by eye.
Then load gradually, watching the loading point first. Uneven loading is the single most common cause of tracking problems on a new conveyor, and it is much easier to correct the chute while the plant is being commissioned than after production starts.
The Errors That Show Up Later
Three installation errors have a long fuse. Mixing roller types in one trough set, where a rubber disc roller and a steel roller of nominally the same size differ in actual diameter, creates a step that wears the belt. Over-tightening bracket bolts distorts light-gauge frames and changes the trough angle. And leaving transit packaging or spacer blocks inside the frames is more common than anyone admits.
The last one is worth a specific walk-round before the belt runs: look inside every frame, not just the accessible ones.
References
Conveyor Equipment Manufacturers Association (CEMA), Belt Conveyors for Bulk Materials, 7th Edition, 2014.
ASME B20.1-2021, Safety Standard for Conveyors and Related Equipment, American Society of Mechanical Engineers.
AS 1755-2000, Conveyors — Safety requirements, Standards Australia.
DIN 22107, Continuous conveyors — Idler rollers for belt conveyors — Dimensions and requirements, Deutsches Institut für Normung.
ISO 5048:1989, Continuous mechanical handling equipment — Belt conveyors with carrying idlers — Calculation of operating power and tensile forces, International Organization for Standardization.
Author: Michael Trent — Technical Content Team, Conveyor Components Division
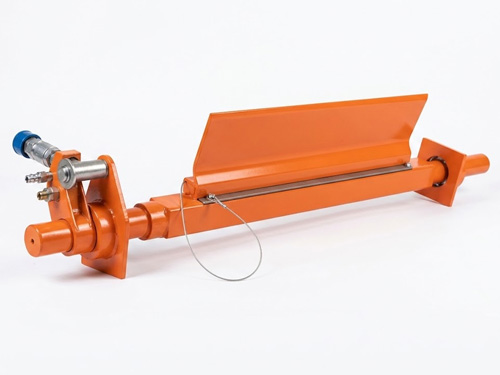
Heavy-Duty Primary Belt Cleaner Heavy-Duty Primary Belt Cleaners are robust conveyor belt c...
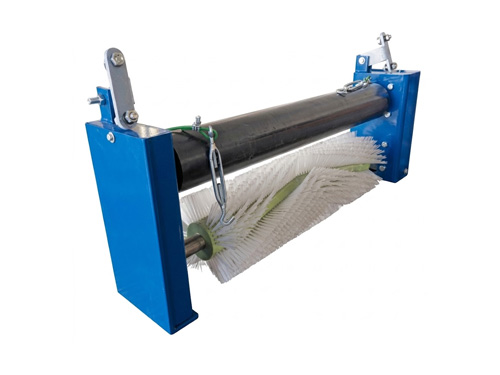
Self-Driven Rotary Brush Belt Cleaner Self-Driven Rotary Brush Belt Cleaners are specialize...
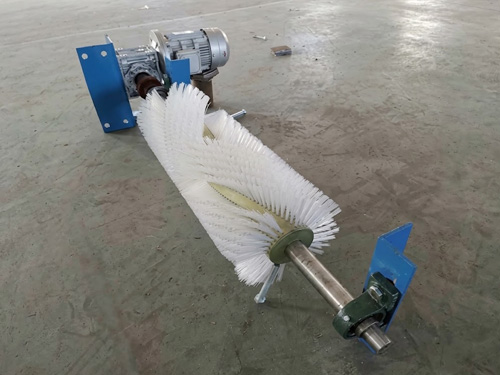
Brush Belt Cleaners in Various Models Brush Belt Cleaners are specialized conveyor belt cle...
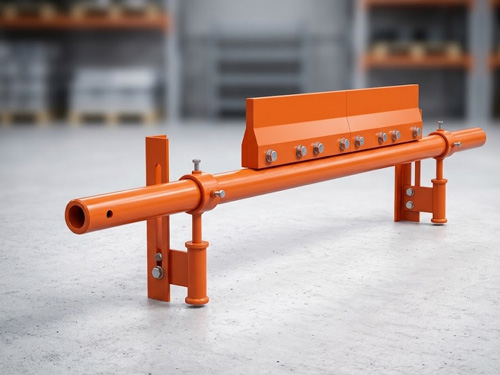
Secondary Conveyor Belt Cleaner Secondary Conveyor Belt Cleaners are designed to remove res...